Hey there, tech enthusiasts and curious minds! If you're reading this, chances are you're diving headfirst into the world of IoT (Internet of Things) and looking to connect your devices using VNC on Windows 10 via the command line. But hold up, before we dive into the nitty-gritty, let me drop a quick fact: VNC is not just some fancy acronym—it's your gateway to remote control magic. And trust me, it’s a game-changer!
Now, you might be wondering, "Why bother with the command line when there are GUIs galore?" Well, my friend, the command line is like the secret weapon of power users. It’s fast, efficient, and lets you automate tasks like nobody’s business. Plus, it’s free! So, if you're ready to level up your tech skills, buckle up because we’re about to embark on a journey that’ll make you the VNC wizard of your neighborhood.
Before we get into the technical details, let’s take a moment to appreciate how far technology has come. Remember the days when connecting devices felt like solving a Rubik’s Cube blindfolded? Yeah, me neither. But today, with tools like VNC and the power of IoT, connecting devices is as easy as ordering pizza. And who doesn’t love pizza, right?
What is VNC and Why Should You Care?
Alright, let’s break it down. VNC stands for Virtual Network Computing, and it’s basically a remote desktop protocol that lets you control one computer from another. Think of it as a remote control for your digital life. Whether you’re managing servers, troubleshooting devices, or just showing off your tech prowess, VNC is your go-to tool.
Here’s why VNC should matter to you:
- It’s free and open-source, which means no pesky licensing fees.
- It works across platforms, so you can control Windows, Mac, and Linux devices with ease.
- It’s lightweight and doesn’t hog your system resources.
- And most importantly, it gives you superpowers over your devices.
So, if you’re ready to harness the power of VNC, let’s move on to the next step.
Setting Up VNC on Windows 10: The Basics
Before you start tinkering with the command line, you need to set up VNC on your Windows 10 machine. Here’s a quick rundown of what you need to do:
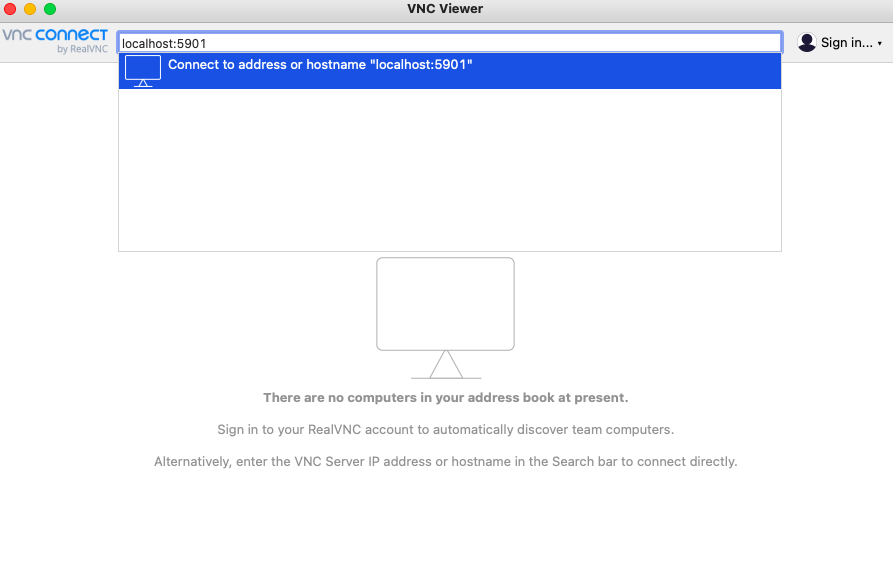
Step 1: Download and Install VNC Viewer
Head over to the official VNC website and download the free version of VNC Viewer. Installation is a breeze—just follow the prompts and you’re good to go. Once installed, you’ll have access to the VNC Viewer app, which is your ticket to remote control heaven.
Step 2: Configure VNC Server
Next, you’ll need to set up the VNC server on the device you want to control. This involves installing the VNC Server software and configuring it to accept incoming connections. Don’t worry, it’s not as complicated as it sounds. Just follow the on-screen instructions and you’ll be up and running in no time.
Step 3: Test Your Connection
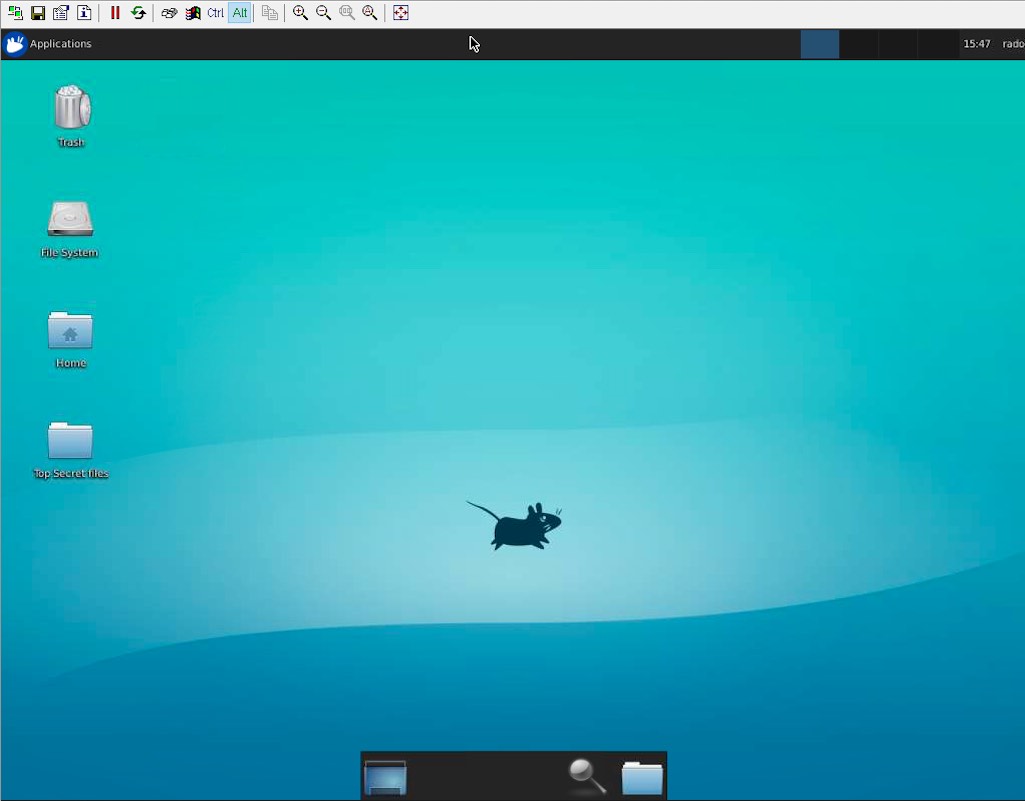
Once everything is set up, it’s time to test your connection. Open VNC Viewer and enter the IP address of the device you want to control. If everything is configured correctly, you should see the remote desktop appear in all its glory.
Connecting IoT Devices via Command Line
Now that you’ve got VNC up and running, it’s time to dive into the command line magic. Connecting IoT devices via the command line is a bit like casting a spell—just a few words and you’ve got control over your entire network.
Understanding the Command Line Syntax
Here’s a quick breakdown of the command line syntax you’ll need:
vncviewer [IP Address]– This command connects you to the VNC server running on the specified IP address.vncserver :1– This command starts the VNC server on display 1.vncserver -kill :1– This command stops the VNC server running on display 1.
Simple, right? But wait, there’s more!
Automating Your Connections
If you’re tired of typing the same commands over and over, why not automate the process? You can create batch files or PowerShell scripts to handle repetitive tasks. For example, you could create a script that starts the VNC server and connects to your IoT devices with a single click. How’s that for efficiency?
Security Best Practices for VNC Connections
Now, before you go wild with your newfound VNC powers, let’s talk about security. Just like any other tool, VNC can be a double-edged sword. If not used properly, it can open the door to unwanted visitors. Here are a few tips to keep your connections safe:
- Use strong passwords and enable encryption whenever possible.
- Limit access to trusted IP addresses to reduce the risk of unauthorized access.
- Regularly update your VNC software to patch any security vulnerabilities.
- Consider using a firewall to add an extra layer of protection.
Remember, security is not just a one-time thing—it’s an ongoing process. Stay vigilant and you’ll be fine.
Common Issues and Troubleshooting
Let’s face it, even the best-laid plans can go awry. If you run into issues with your VNC connections, don’t panic. Here are a few common problems and how to fix them:
Problem 1: Connection Refused
This usually happens when the VNC server is not running or the IP address is incorrect. Double-check your settings and make sure the server is up and running.
Problem 2: Slow Performance
If your connection is lagging, try adjusting the quality settings in VNC Viewer. Lowering the resolution or disabling color compression can make a big difference.
Problem 3: Authentication Failed
Make sure you’re using the correct password and that the VNC server is configured to accept your credentials. If all else fails, try resetting the password.
Advanced Tips for Power Users
For those of you who want to take your VNC skills to the next level, here are a few advanced tips:
Tip 1: Use SSH Tunneling
SSH tunneling adds an extra layer of security to your VNC connections by encrypting the data transmitted between your devices. It’s a bit more complicated to set up, but totally worth it for added peace of mind.
Tip 2: Automate with Scripts
As I mentioned earlier, scripting is your best friend when it comes to automating repetitive tasks. Whether you’re using batch files or PowerShell, scripting can save you tons of time and effort.
Tip 3: Explore Alternative Tools
While VNC is a fantastic tool, there are other options out there worth exploring. Tools like TeamViewer, AnyDesk, and Remote Desktop Protocol (RDP) offer similar functionality with their own unique features. Don’t be afraid to experiment and find what works best for you.
Real-World Applications of VNC in IoT
Now that you’ve got the technical side down, let’s talk about how VNC can be used in real-world IoT applications. Here are a few examples:
- Smart Home Automation: Use VNC to remotely control your smart home devices, from thermostats to security cameras.
- Industrial IoT: Monitor and manage industrial equipment from anywhere in the world.
- Healthcare: Enable remote access to medical devices for diagnostics and troubleshooting.
- Education: Facilitate remote learning by allowing students to access lab equipment and resources from home.
The possibilities are endless! With VNC, you’re only limited by your imagination.
Conclusion: Take Action and Level Up
And there you have it, folks—a comprehensive guide to connecting IoT devices using VNC on Windows 10 via the command line. Whether you’re a tech enthusiast, a hobbyist, or a professional, VNC is a tool that can take your skills to the next level.
So, what are you waiting for? Fire up your command line, download VNC Viewer, and start exploring the world of remote control. And don’t forget to share your experiences in the comments below. Who knows, you might just inspire someone else to take the leap!
Oh, and one last thing—make sure to bookmark this page for future reference. You never know when you’ll need a quick refresher on VNC magic. Until next time, stay curious and keep learning!
References:
Table of Contents: